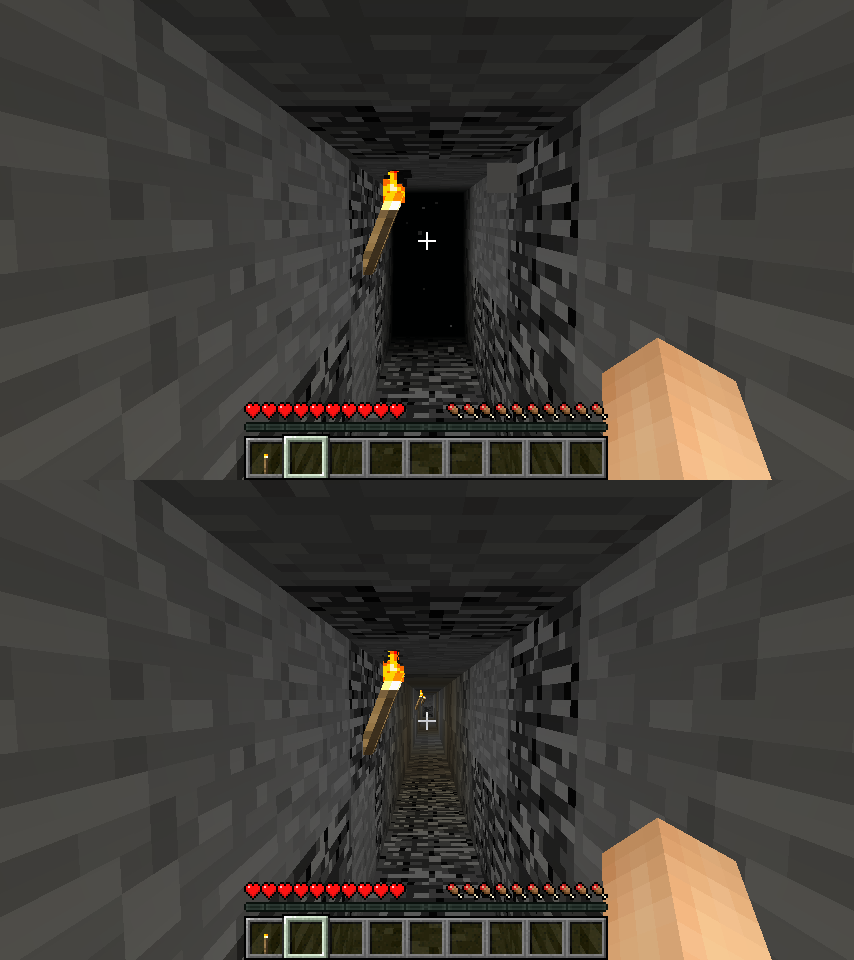
Comparison of without and with No Void Fog; void particles are also disabled

Note: This doesn’t remove the sky darkening that occurs when you go under an overhang, which is handled elsewhere and in code that was probably added in 1.7
How to install:
- Open the new launcher and make sure the version of Minecraft the mod requires is already installed.
- Click “Edit Profile” in the launcher, then open the game directory.
- Go into the subfolder “versions”.
- Rename the folder for the version you require to something else. In this example, rename “1.7.x” to “1.7.x_Modded”.
- Open the 1.7.x_Modded folder.
- Rename “1.7.x.jar” to “1.7.x_Modded.jar”.
- Rename “1.7.x.json” to “1.7.x_Modded.json”.
- Open “1.7.x_Modded.json” with a text editor and replace “id”:”1.7.x” with “id”:”1.7.x_Modded”, save the file and close it.
- Open the class files from the mod with an archiver such as WinRAR or 7-Zip and copy-paste the files into 1.7.x_Modded.jar. Do not close the archiver yet.
- Delete META-INF and close the archiver.
- Start the new launcher.
- Click “Edit Profile”
- In “Use Version”, select “1.7.x_Modded”.
- Click Save Profile.
- Login and play as normal.

![[1.7.4] No Void Fog Mod Download](https://planetaminecraft.com/wp-content/uploads/2014/01/b1309__No-Void-Fog-Mod-1-130x100.png)